
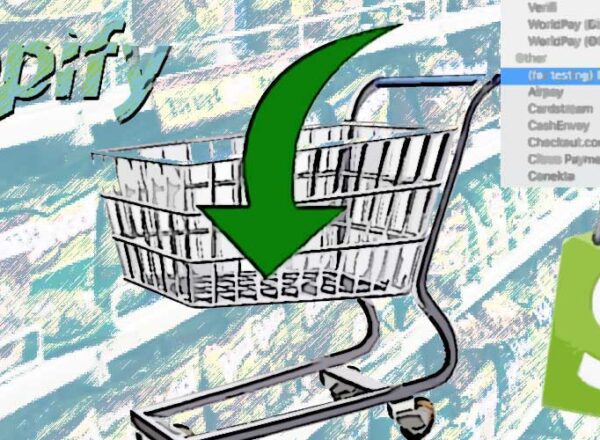
What’s a test order?
You have made your store and are good to go. But– there is something you need to do before you click the button that makes your store go live. A test order!
But why?
Well, first it is crucial to ensure that your checkout process is running smoothly and that your customer will face no challenges when attempting to check out.
Second, to verify that you have made the correct order processing, inventory, shipping an, taxes selections and that they are all working syncretically.
You should always place at least one test order when setup your store, or whenever you make changes to your payment or shipping settings.
Okay, I get– but how do I do it?
You have two options:
Use Shopify’s placeholder gateway for test transactions.
Use Shopify’s Payment Gateway and then immediately cancel and/or refund your test order.
Placing a test order using Shopify’s Bogus Gateway:
Step #1: Go to the admin section of your Shopify store.
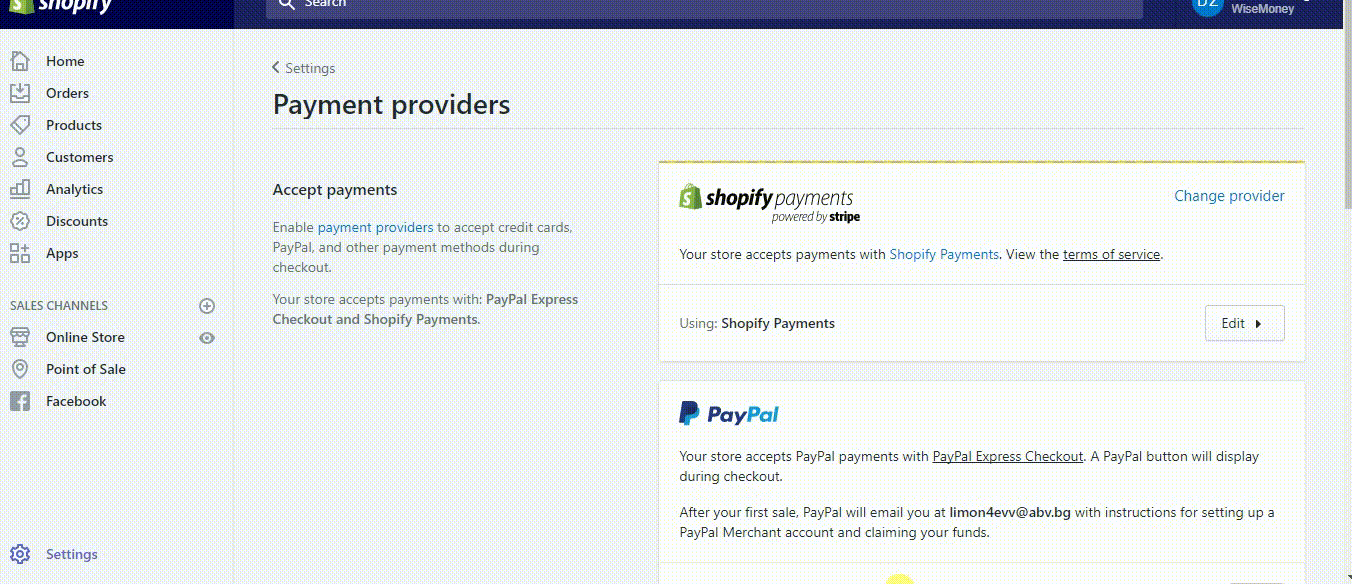
Step #2: Click on “Settings”:
Step #3: Click on “Payment providers”:
Step #4: If you have a credit card gateway-enabled, deactivate it before activating the bogus Gateway. You can do this under Accept Payments –>Accept Credit Cards:

a.) Then click “Add a Provider”:
b.) Change Provider and check “Third Party Credit Card Provider”
c.) Navigate once more from “Accept Payments,” → “Accept Credit Cards.” Then, check on “Select a Credit Card Gateway” drop down.
f) Select “Bogus Gateway”:
g) Click “Activate” (if you are using bogus for the first time), otherwise, click on “Reactivate” button (if you have used the bogus gateway before):
h) Congratulations. You did it! Well– set up a test for the Bogus Gateway, that is.
Go to your storefront and place an order as a customer. At the checkout, you can enter the following test card details provided by the Bogus Gateway for Testing:
Edit your Bogus Gateway Payment system by checking the “Edit” button here:
Placing a test order using the Real Payment Gateway with a genuine transaction:
Steps#1: Go to Settings and click Payment providers
Step #2: Go to the Accept Payments Section —> Accept Credit cards:
Step #3: Then from the “Accept Credit Cards” screen click on the “Select a Credit Card Gateway” drop-down:
Step #4: Select any of the payment gateways that you would like to setup, check the box “use test mode” and then click “Activate” button, which activates your payment gateway.

Step #5: Now, make a purchase from your store as a customer, and complete the checkout process using a genuine credit card ( that you own, of course!)
Step #6: If you’re using a third-party gateway, log into your payment gateway during the checkout process to ensure that the funds have been processed and that the transaction is complete.
Step #7: Go to the “Orders” section of your Shopify store admin panel:
Step #8: Now cancel and refund the order which you have made. Make sure to refund the transaction as soon as possible to refund yourself, and avoid paying any transaction fees.
a) Open the order by clicking on the order number
b) Click on the “Refund” link
Is this going to cost me?
No, as long as you cancel and refund the order. Just ensure that you do it as fast as possible! It ought not to be subjected to any transaction fees, for if you do it in a timely manner, the transaction will never actually hit your account.
Now, if for some reason your billing cycle closes after you have placed your test order, but before you have canceled it, then the transaction fees will appear on your bill.
If that happens, you’ll receive the refund as a transaction credit on your account, which you can then apply as a transaction credit towards your future transaction fees.
These test orders are needed as you set up your store. Check all possible problems and make sure everything is hundred percent working for the benefit of your future customers. Orders and check out processes are big deals as your consumer put trusts in you as you acquire them real money, so credibility is the key.
Comments