Shopify allows customers to view different colors, sizes or other variants of a product within the same product page. Providing options for your customers will open up your customer base and improve their overall experience.
Your customers will surely appreciate the selection of products you provide them.
So, let’s get started on how to modify these variants.
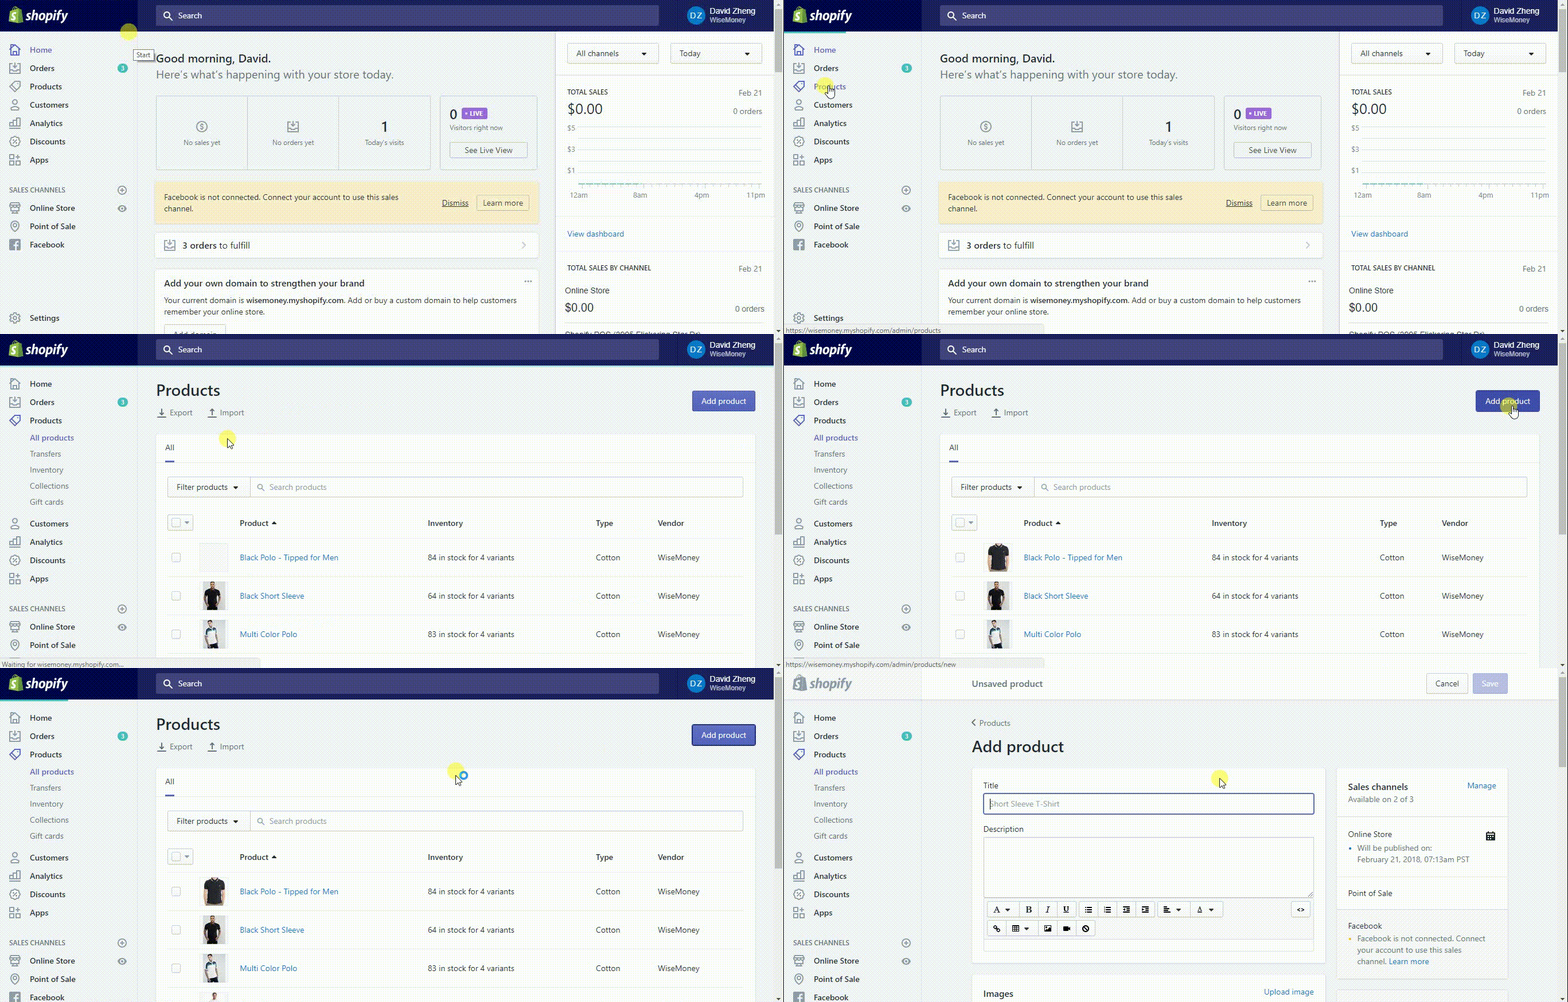
Step #1: Go to your Shopify Admin account and click on “Products” then click “Add a Product”
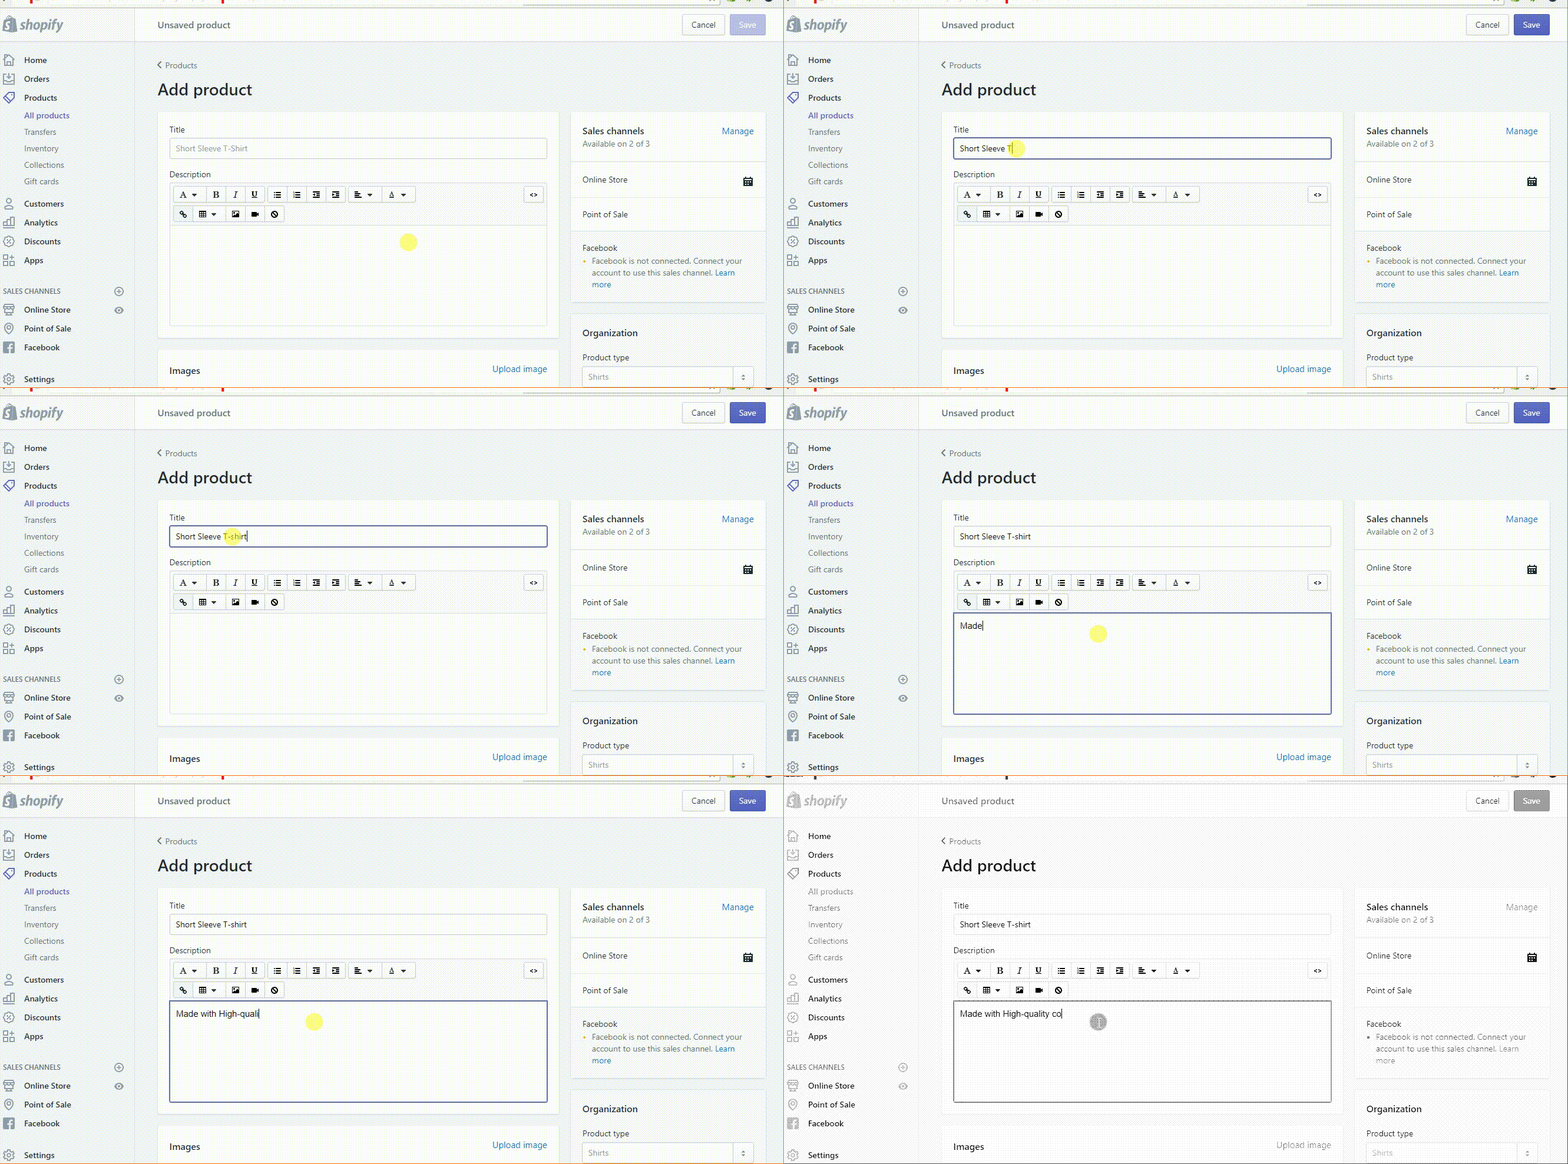
Step #2: Fill in all the necessary product information as you add your item.
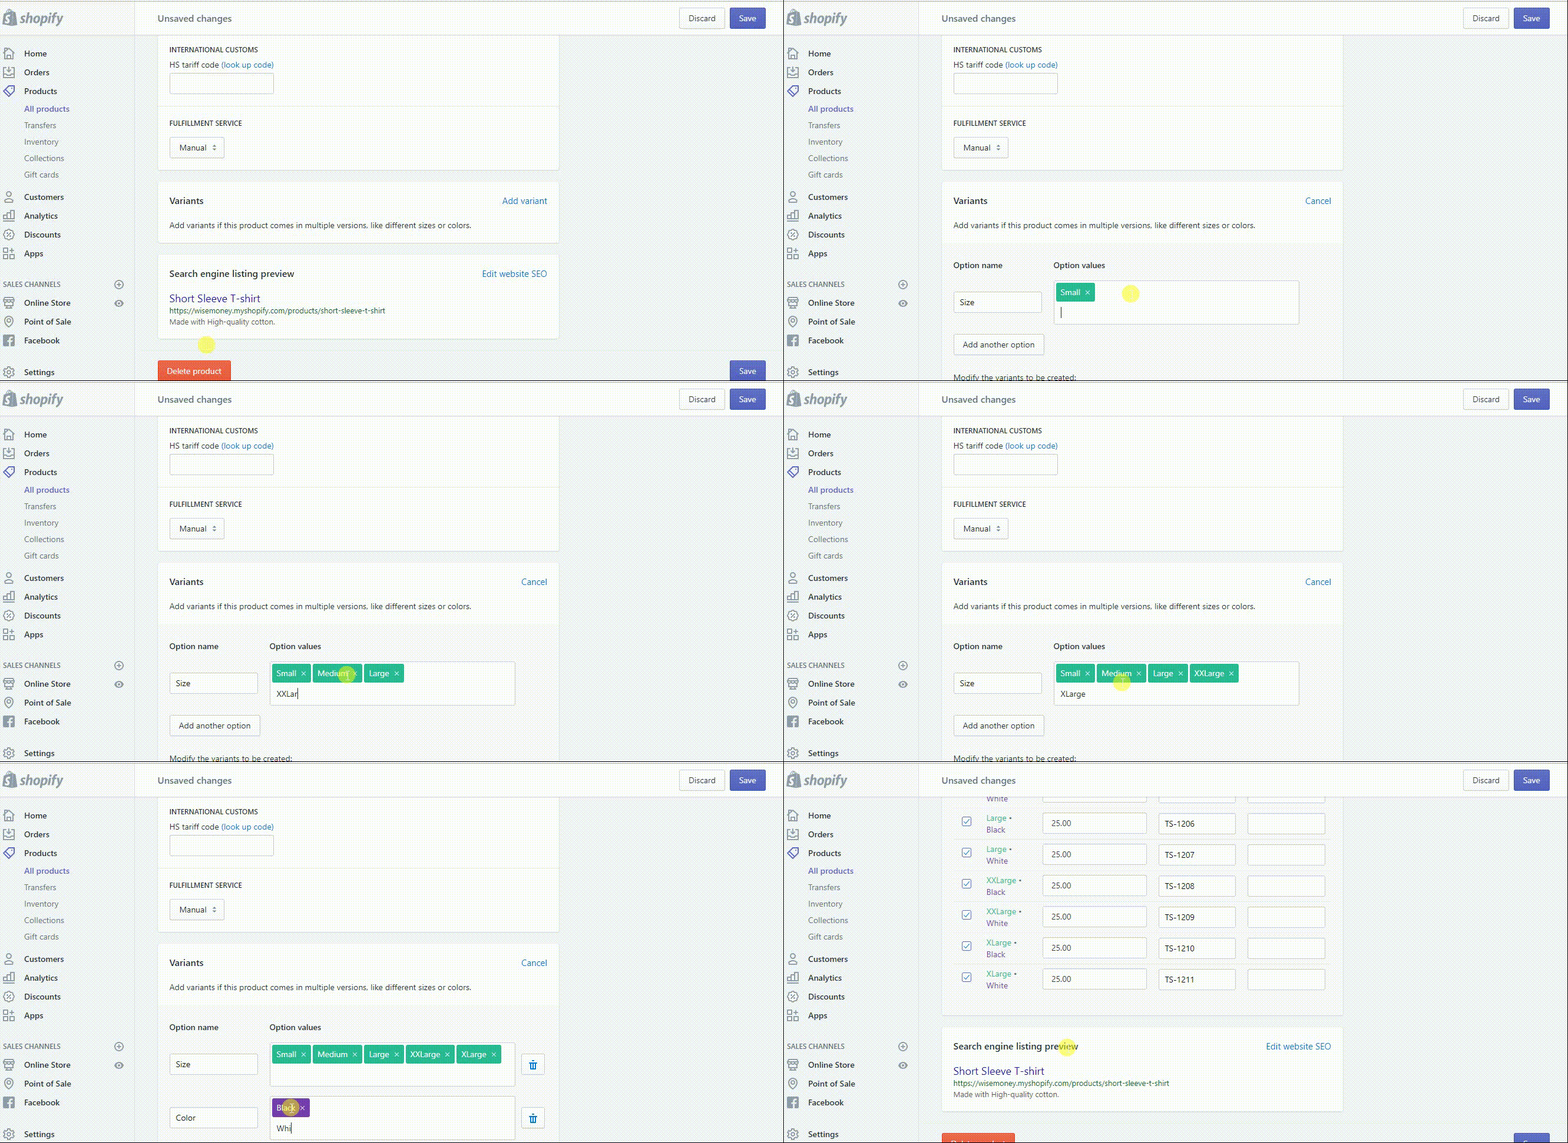
Step #3: On the product page, scroll down to locate “Variants” section:
Step #4: Click “Add variants” to add your product variants:
Step #5: Enter the “Option Name” and enter its corresponding “Option Values”:
Option name: This is the attribute that defines your variant, which may be size or color.
Option value: This is your variant value, which may be red or blue, medium or small. Type in each variant and separate with a comma.
As you enter the “Option values” you will notice that your variants will get added to the list below:
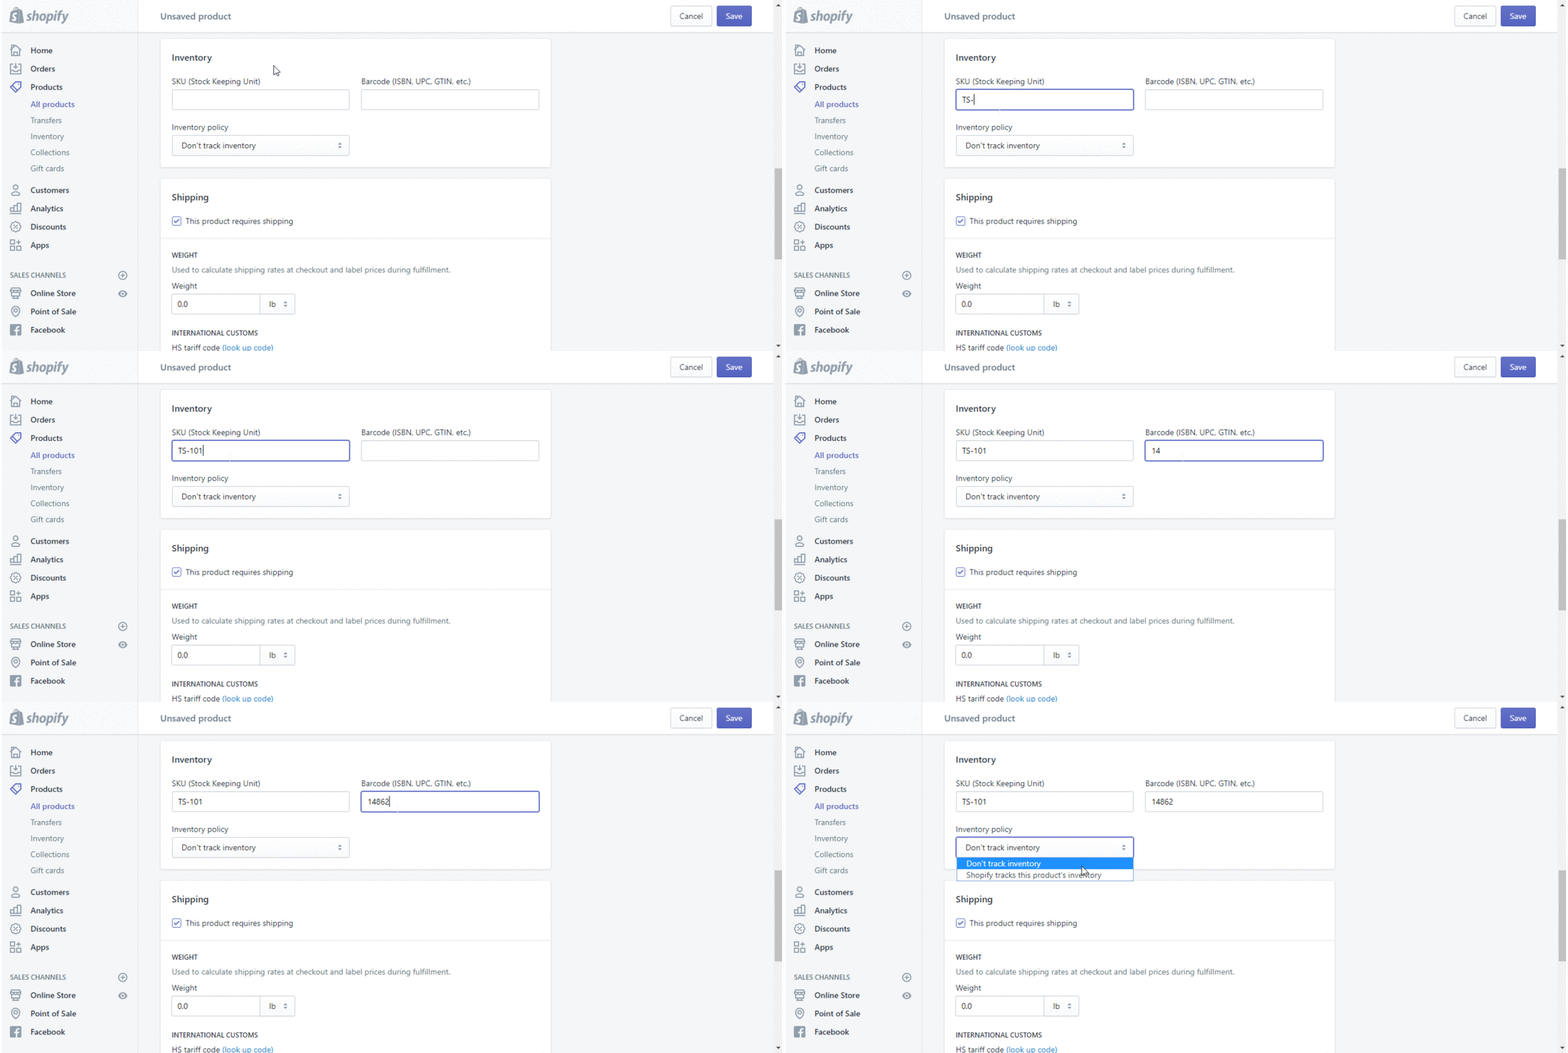
Step #6: After creating your variants, you need to insert a Price and a unique SKU and Barcode for each of the option values you created:
Step #7: Click “Save” once you are done adding the variants:
Step #8: After saving your variants you will notice that the variants will be displayed on the product page:
Add Additional Variants to a Product
Edit an Option Name
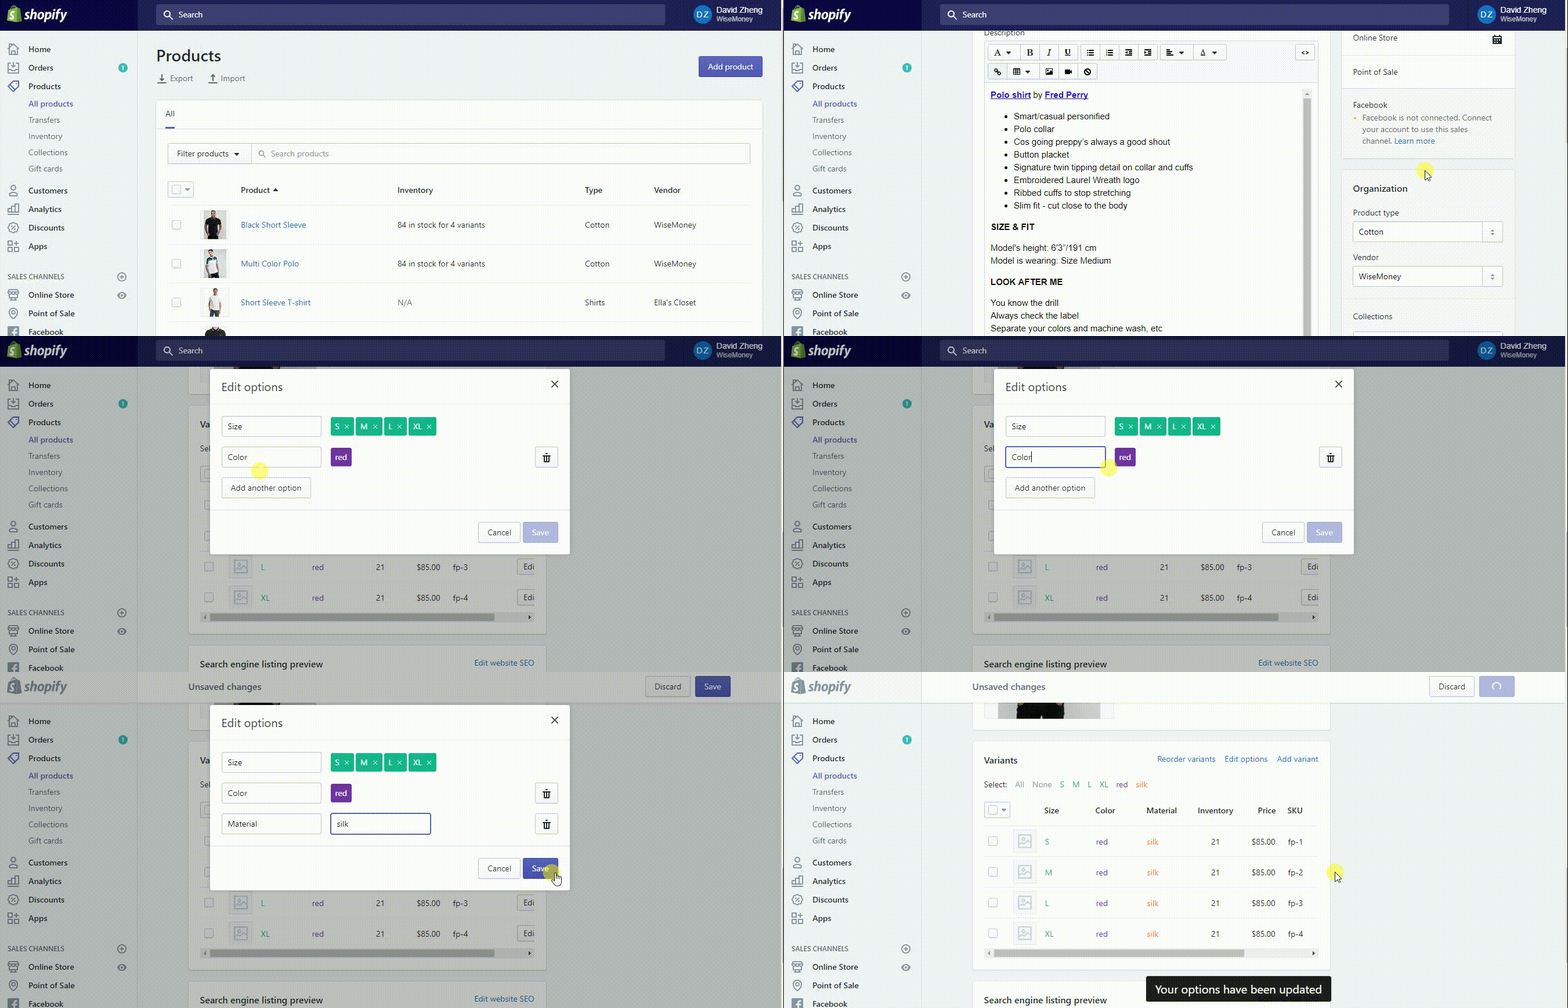
Step #1: Open your desired product to modify in your Shopify Admin and locate the “Variants” section and click “Edit options”
Step #2: From the pop-up window, click on “Add another option” to add another option
Step #3: Add an Option name and its Option value
Step #4: Click “Save”
Options make the world go round. Well, at least e-commerce. Providing customers with a range of options can be rewarding for them, and for you too. You have the ability to add any combination of variants for your customer base. It is a good feeling.
Have fun!

Comments