

Having an ecommerce store can be overwhelming, so streamlining wherever possible is crucial to both your success and your peace of mind.
One way to do this is by tracking your product inventory through Shopify, which will help you manage the inventory you have in stock, and any possible production you may be involved with. Plus– it’s easy!
Here’s how:
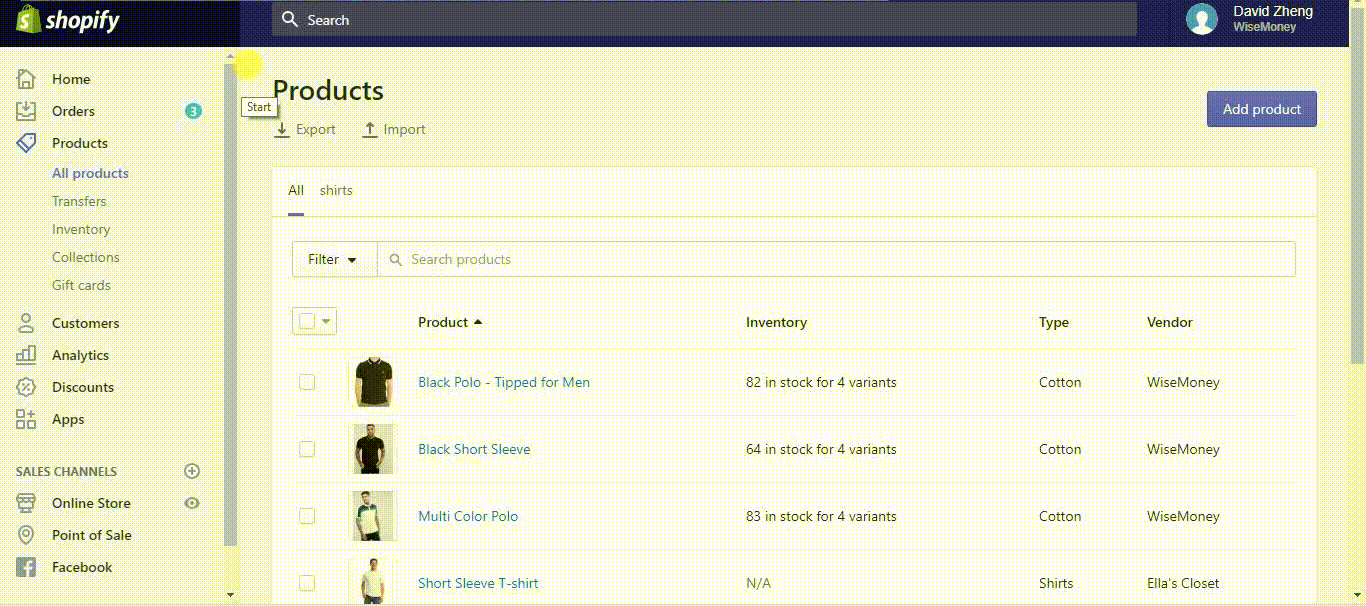
Step #1: Go to your Shopify admin, navigate to “Products” and click:
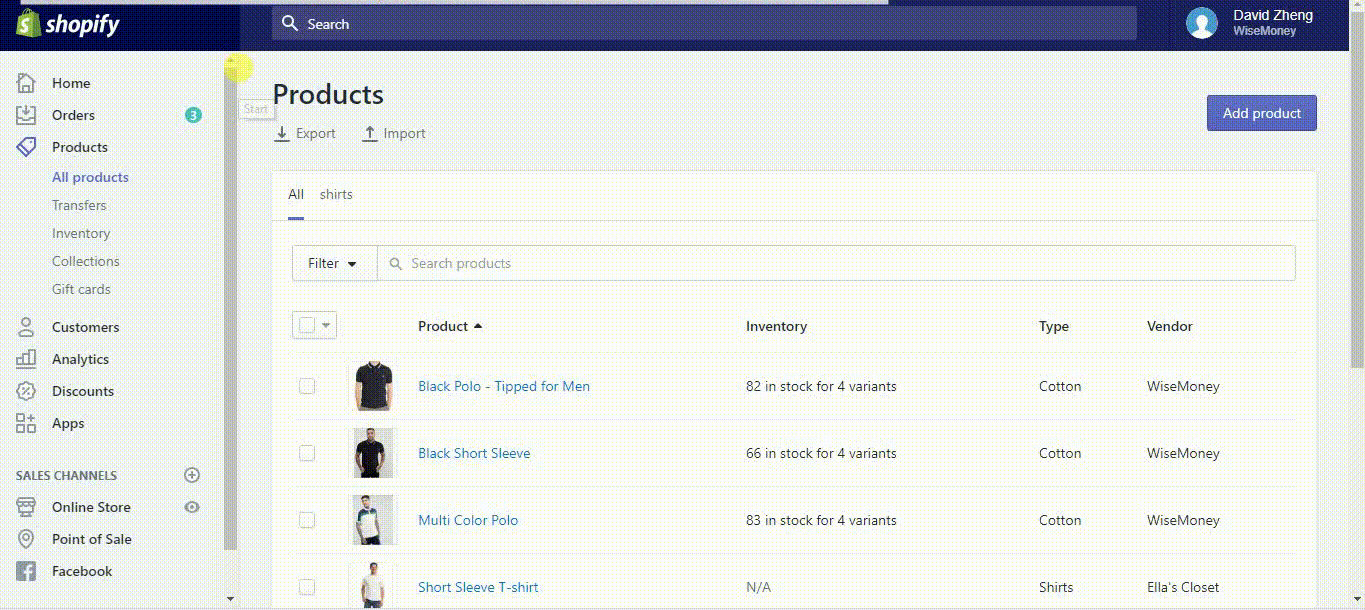
Step #2: Click on the product’s name you want to track from the list of the products:
Step #3: Locate the the “Inventory” panel, and under the “Inventory policy” drop-down, select “Shopify tracks this product’s inventory”:
Step #4: After you have done this, enter the “Quantity” of the product you have in stock; thereby identifying your inventory volume:
Step #5: Click the blue “Save” button located at the top right hand corner of the screen:
Manage Inventory from Inventory tab
Step #1: Go to your Shopify admin and click the “Products” tab:
Step #2: Click the “Inventory” tab, this will direct you to the “Manage Inventory” page:
Step #3: From here, you can alter the quantity of a specific product in the “Update Quantity” column:
Step #4: Alter your inventory volume with the buttons next to the quantity field:
a) Add button: Add a new quantity amount to your current volume. This will result in the old quantity plus the new quantity.
b) Set button: The set button is used to change the current quantity amount, so the quantity volume will be whatever you enter into the field.
Step #5: Once you are done with the changes, click the “Save” button to update the quantity amount:
Now you know how to change the inventory volume for your products.
Remember to track your inventory from your initial setup– that way you can always manage the quantity of products you have, and the volume of products that you need.
Comments