
Any time inventory gets received from a supplier, Shopify will automatically update the number of products available in your online store.
This is much more effective than tracking your inventory manually. But in order for this to work, you need to enable inventory tracking. Here’s how you do it.
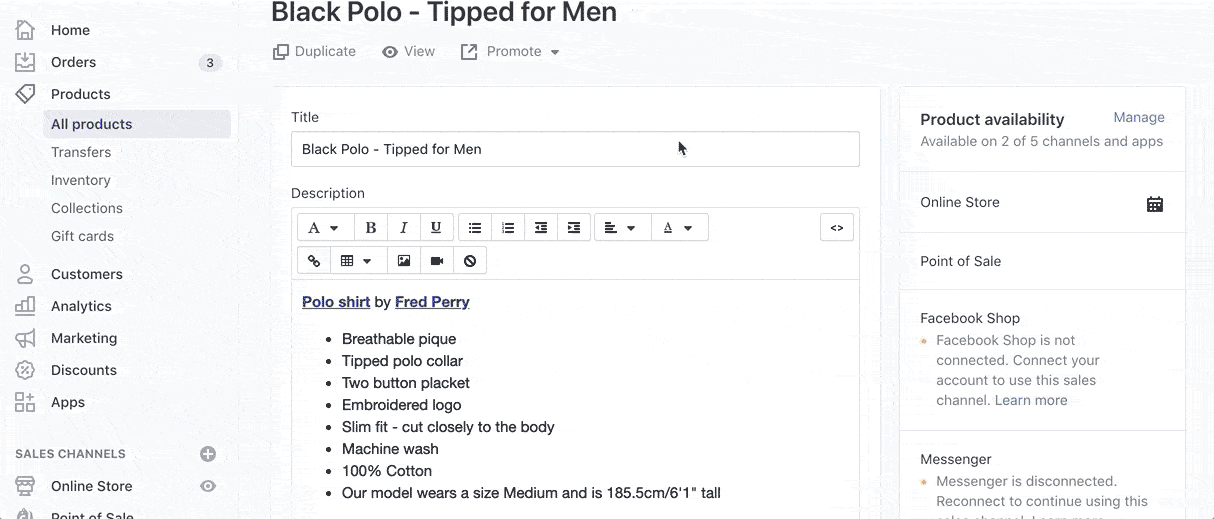
Step #1: Click “Products” on your admin dashboard and navigate to “All Products.”
Step #2: Select a product from the list.
Step #3: Edit the variants of the selected product.
Step #4: Make sure “Track Quantity” is enabled.
Step #5: Save your changes.
Repeat this process for all products and variants that don’t currently have inventory tracking enabled.
Benefits of Enabling Inventory Tracking in Your Shopify Store
- Enabling inventory tracking in your Shopify store helps you avoid overselling products, which can lead to negative customer experiences and lost sales.
- If you use a third-party inventory management system, you can integrate it with Shopify to keep track of your inventory levels across different channels and platforms.
- You can set up low stock alerts in Shopify to receive notifications when the quantity of a product falls below a certain threshold. This can help you restock products in a timely manner and avoid stockouts.
- In addition to tracking inventory, you can also use Shopify to manage your product listings, fulfill orders, process payments, and track sales data.
- Shopify offers a variety of tools and resources to help you optimize your online store, including customizable themes, apps, and marketing features.
- By using Shopify to manage your inventory and other aspects of your e-commerce business, you can focus on growing your brand and engaging with your customers.
Comments