

As the name implies, URL redirects send traffic from one web page to another. If you change a URL in your Shopify store, you need to make sure that your customers can still find what they need without having any navigation problems or error messages.
For example, let’s say you delete a product that you’re no longer selling. If a customer already bookmarked that page or saved the link, you don’t want them to land on a page that doesn’t exist.
But if you set up a URL redirect, anyone who lands on that old product page can be redirected to a similar product that you’re currently offering.
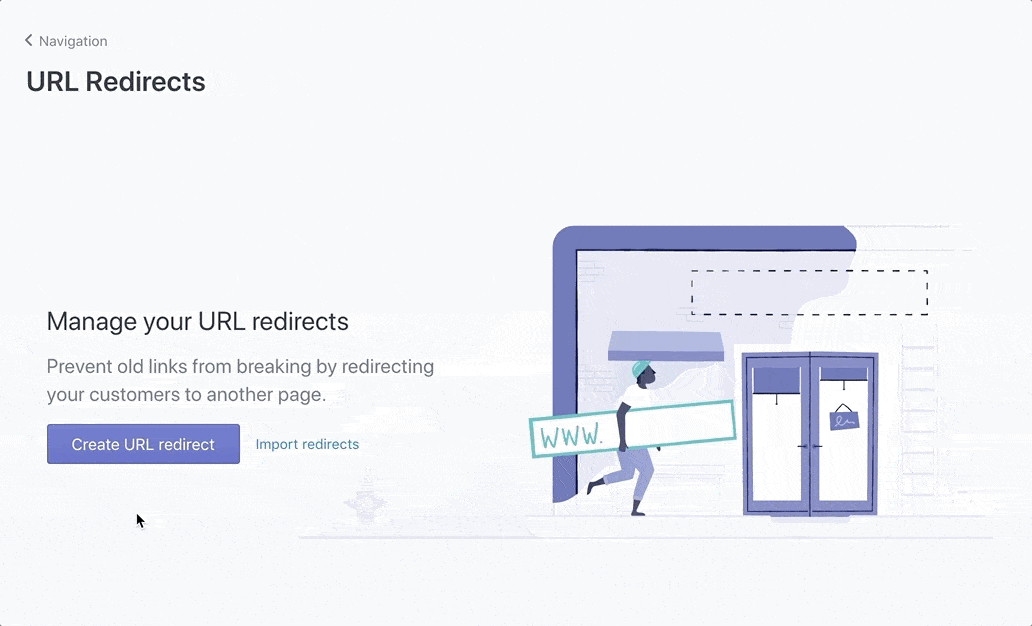
Create a URL Redirect
Creating a URL redirect on Shopify is simple. Just follow these steps that I’ve outlined below.
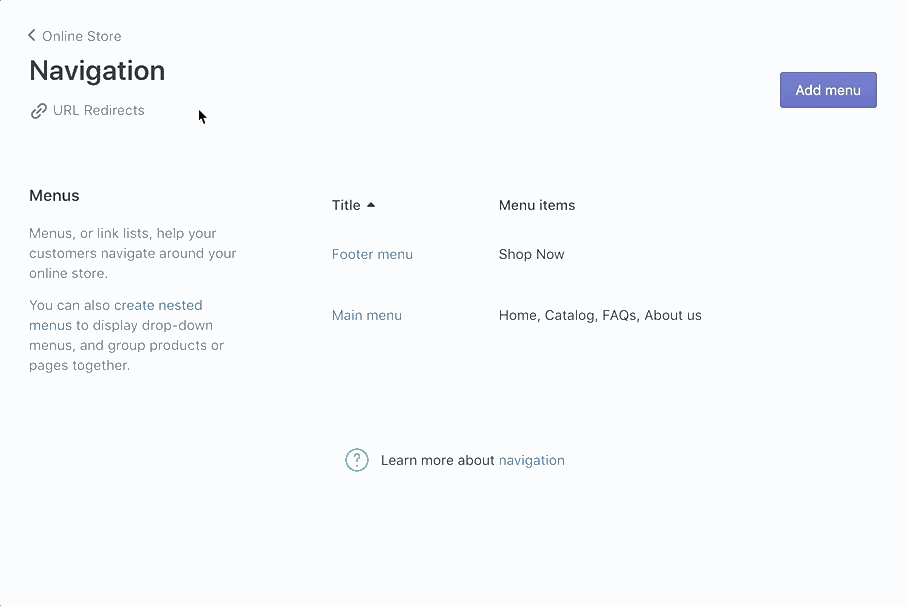
Step #1: Select “Online Store” on the left side of your Shopify admin page.
Step #2: Choose “Navigation” from the expended menu.
Step #3: Click “URL Redirects” just beneath the header of this page.
Step #4: Click “Create URL Redirect.”
Step #5: Paste the original URL.
Step #6: Paste the new URL.
Step #7: Save redirect.
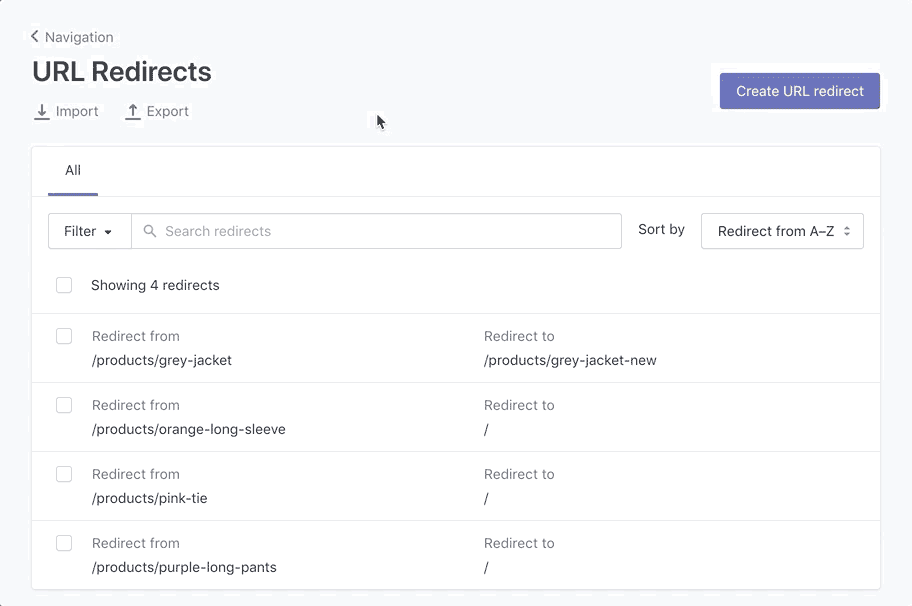
In this example, I used a “/” (forward slash) in the new URL field. By default, a forward slash on this line will automatically redirect the old link to your homepage.
Edit Redirects
Once you have your redirects set up, you can always go back and change them.
Right now, I set all of my redirects to the homepage of my Shopify store. However, if I add a new product that was similar to the old URL, I may want to send that traffic to the new product instead.
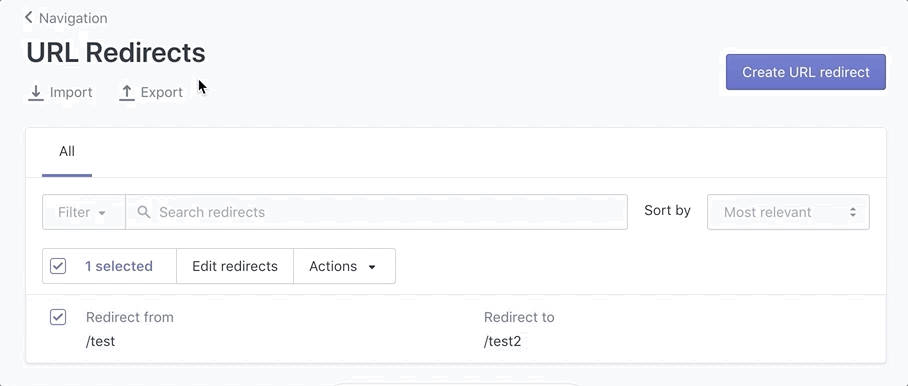
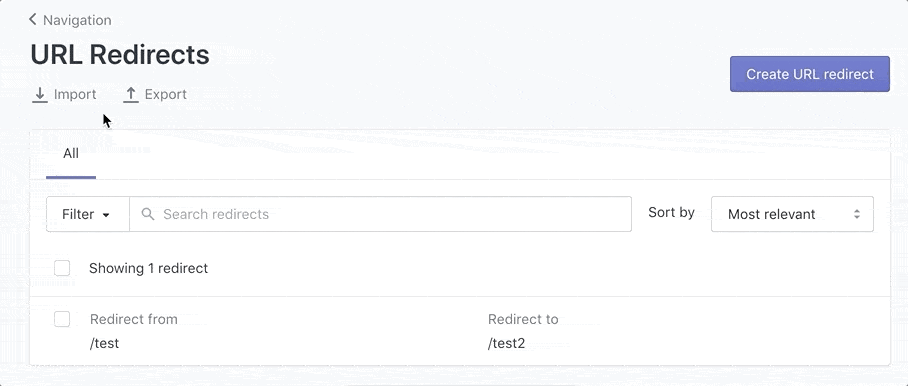
Step #1: Click “URL Redirects” from your “Navigation” page.
Step #2: Select the link you want to edit.
Step #3: Enter the new redirect destination.
Step #4: Save the redirect.
Delete Redirects
Removing redirects is even easier than adding or editing them. Just follow these quick steps below:
Step #1: Go to “URL Redirects” from the “Navigation” page.
Step #2: Select the redirects you want to delete.
Step #3: Click “Actions” and “Delete Selected Redirects”
As you can see, creating and managing URL redirects in Shopify is not that complicated. Anytime you delete a page from your online store, you should set up a corresponding URL redirect.
Export your URL Redirects
Step #1: Click Export.
Step #2: Choose which redirects you want to export.
Step #3: Select which type of CSV file you want to export.
Step #4: Click Export redirects.
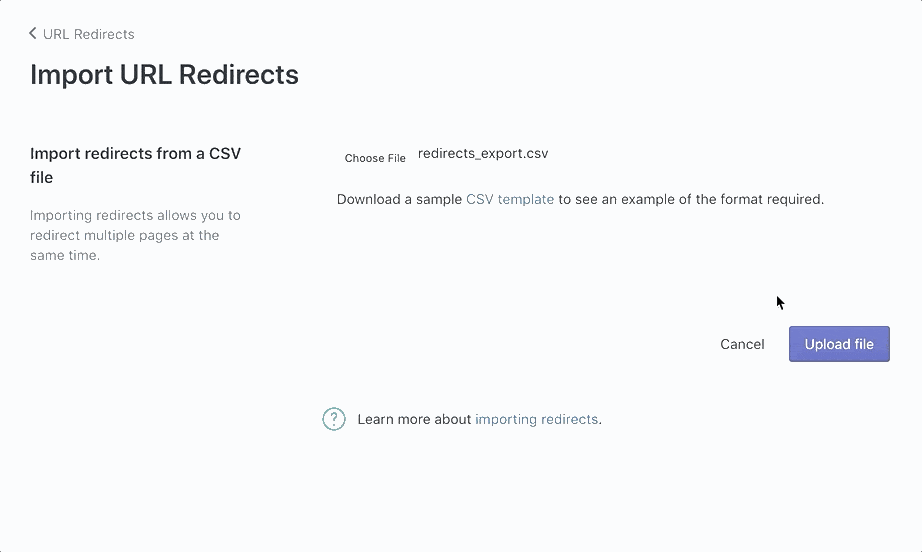
Import your URL redirects
To import your existing URL redirects:
Step #1: Click Import.
Step #2: Click Choose File and select a CSV file.
Step #3: Click Upload file.
Step #4: Review the import.
Step #5: Click Import redirects.
Comments