
Once you submit a purchase order from a supplier, you can create a transfer after you receive a confirmation. Transfers will keep track of any incoming inventory.
Step #1: Navigate to “Transfers” from the “Products” menu of your admin dashboard.
Step #2: Select “Add Transfer.”
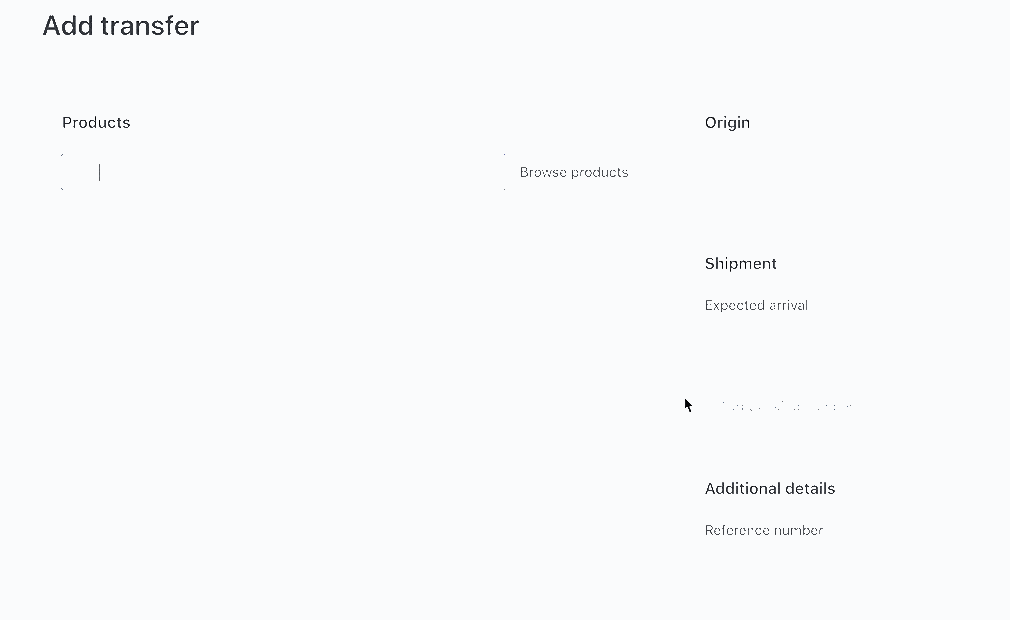
Step #3: Choose your supplier from the “Origin” section of the page. If you don’t have your supplier’s information already saved, click “Create a New Supplier” and add the details.
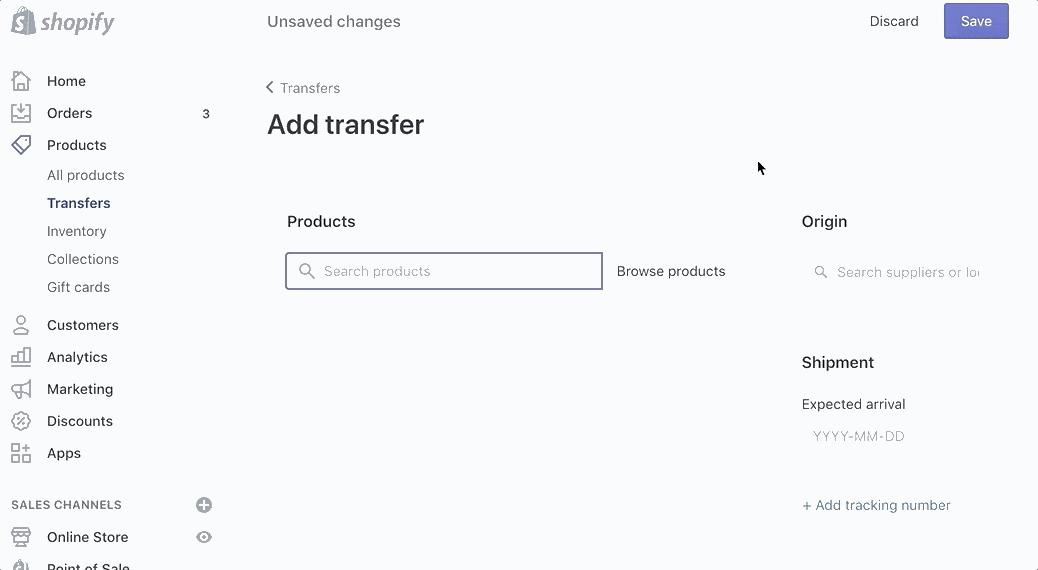
Step #4: Add the expected arrival date in the “Shipment” section.
Optional: Add a tracking number, reference number, and tags to the transfer as well. For example, you could add an “Urgent” tag for high-priority transfers.
Step #5: Choose products that are being delivered in this order. Use the check boxes to select multiple products and variants at once.
Step #6: Click “Add to Transfer.”
Step #7: Manually enter the quantity for each item that you’re expecting to receive from your supplier.

Step #8: Click “Save Transfer” when you’re done.
Note: If you’re creating a transfer for a new product, then you need to create a new product first. Open a new tab, create the product, and then return to your transfer to search for it.
Comments